
Worked example / Contact Sheet Maker
Create a printable contact sheet from a photo folder
A contact sheet puts small previews of a photo set on a page, often with filenames underneath. Use it to compare a shoot, choose images, or keep a printable visual index without opening every file separately.
A six-photo example you can inspect
This sheet was exported by Contact Sheet Maker from six AI-generated coastal demo photographs. It uses an A4 portrait page, three rows, two columns and filename captions. The PDF and JPEG are real exports from the app.
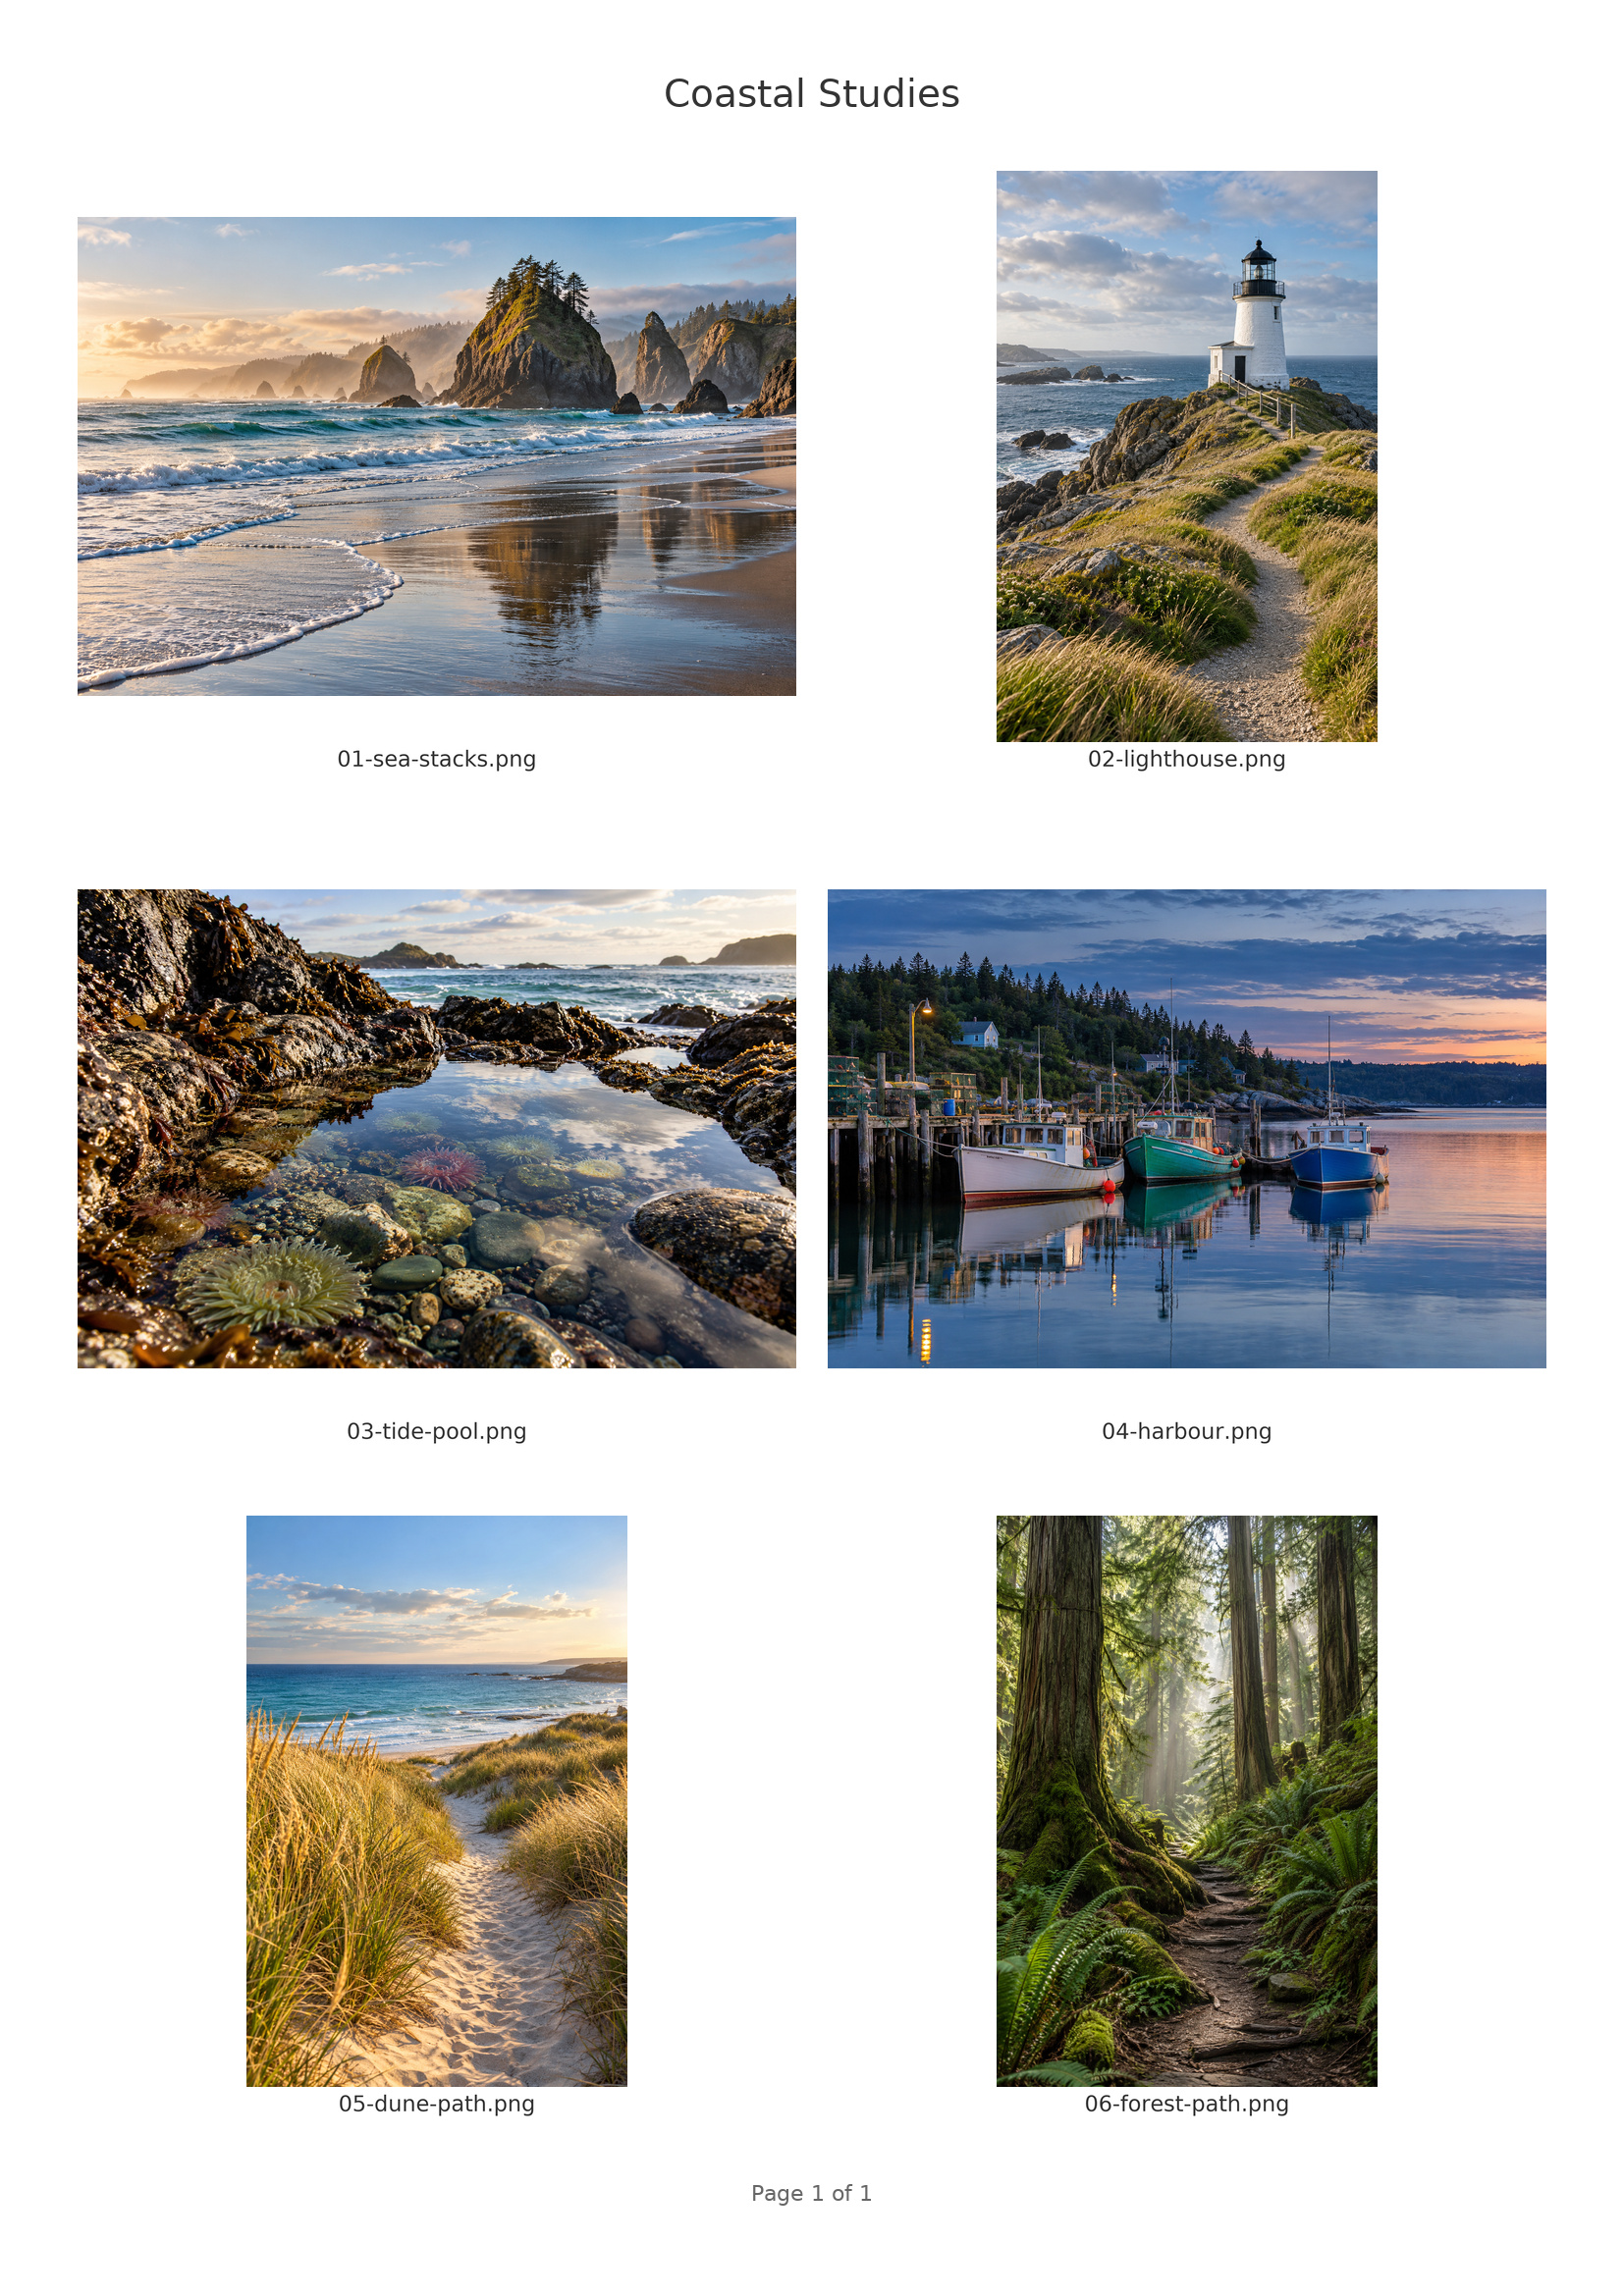
You can open or print the sample before installing the app. The thumbnail here is the exported JPEG; the PDF link opens the PDF file.
Build a printable sheet from your folder
Add the JPEG or PNG photos.
Download Contact Sheet Maker for Windows or Linux x64 and follow its setup notes. Choose Add Folder to load one folder’s JPEG and PNG files. This app does not scan subfolders; add another folder separately when needed. Use Add Photos for individual files.
Check the photo list and order.
The sheet follows the list order. Move selected rows up or down or remove photos you do not want included. Use the filenames to confirm you have the right set before exporting.
Set the paper and grid.
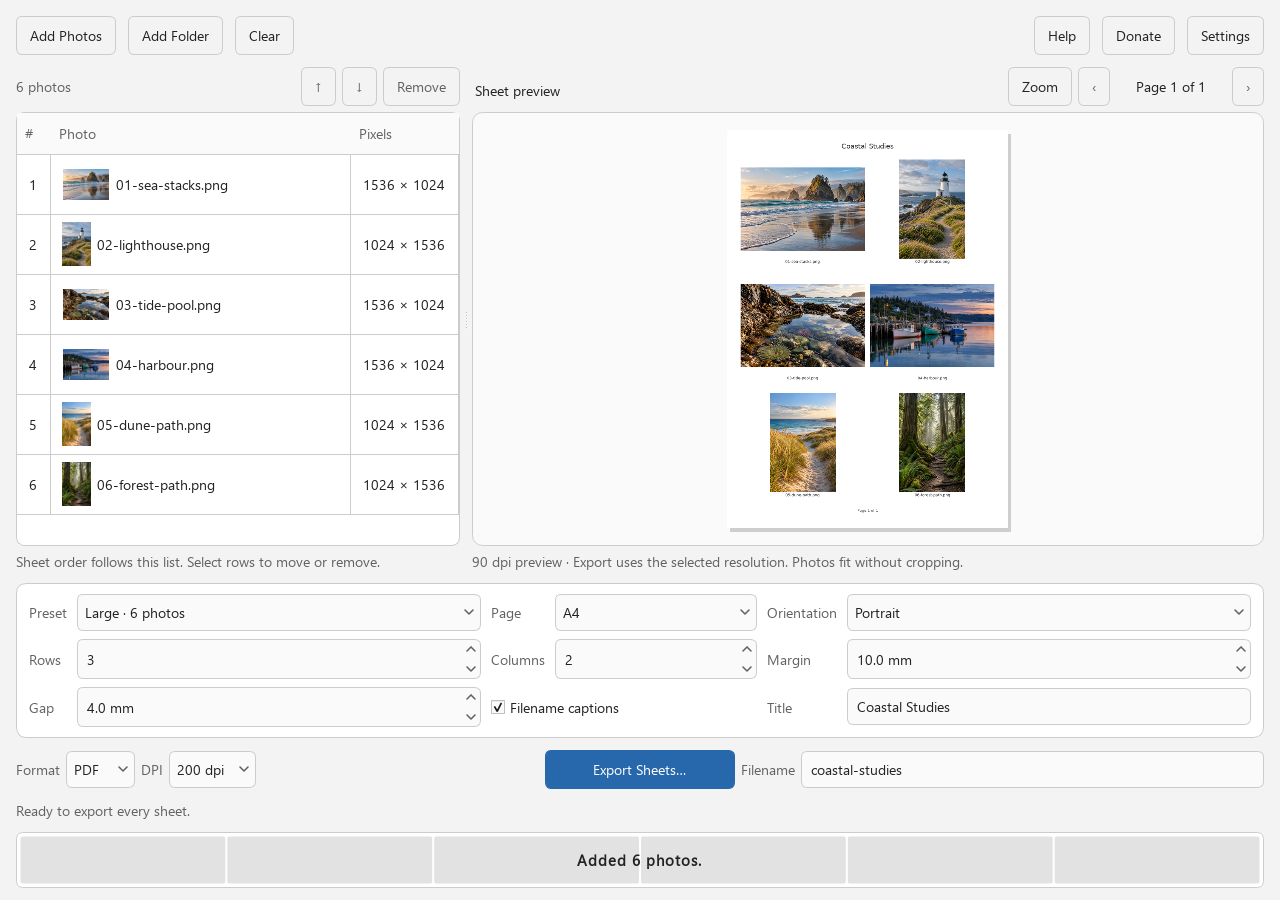
Choose A4 or Letter to match your paper. For the example, select Large · 6 photos, then confirm A4, Portrait, Rows 3, Columns 2, Margin 10 mm and Gap 4 mm. Turn on Filename captions and enter Coastal Studies as the optional Title.
Inspect every preview page.
Make sure the photos, title and complete filenames fit. Photos fit without cropping. If a long filename cannot fit, use fewer columns, landscape orientation or turn off Filename captions. Navigate through all preview pages when the list spans more than one sheet.
Export PDF or JPEG.
Choose PDF for one printable document containing all pages, or JPEG for a numbered image per page. Set DPI to 200 for this example, enter a Filename such as
coastal-studies, and choose Export Sheets… to select a destination.Open and print the saved result.
Check the exported document in your normal PDF viewer. Confirm its page count, filename captions and readable image sizes. In the print dialog, match the paper size and inspect the print preview; printer margins and scaling can change the printed layout.
Choose a grid that stays readable
Rows × Columns gives the maximum photos on each page. A 3 × 2 grid holds six; twelve photos need two pages. Increase the number of rows or columns to fit more images per page, or decrease it to make each image larger.
Use 200 dpi as the example’s starting point. The app also offers 150 and 300 dpi. Higher resolution creates more output pixels; it does not add missing detail to a small source photo. Inspect the output at the size you intend to print.
Contact Sheet Maker accepts JPEG and PNG photos, not RAW files. It reads the originals and writes new PDF or JPEG sheets. Your photos remain on your computer and no account or photo upload is required.